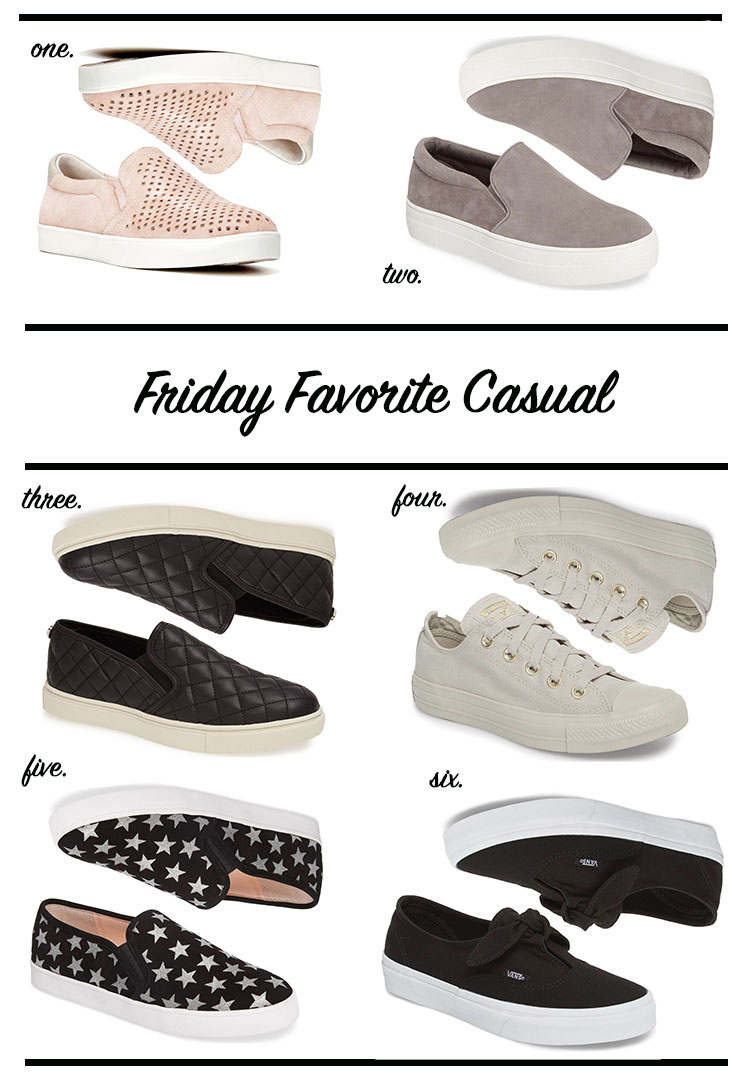
favorites
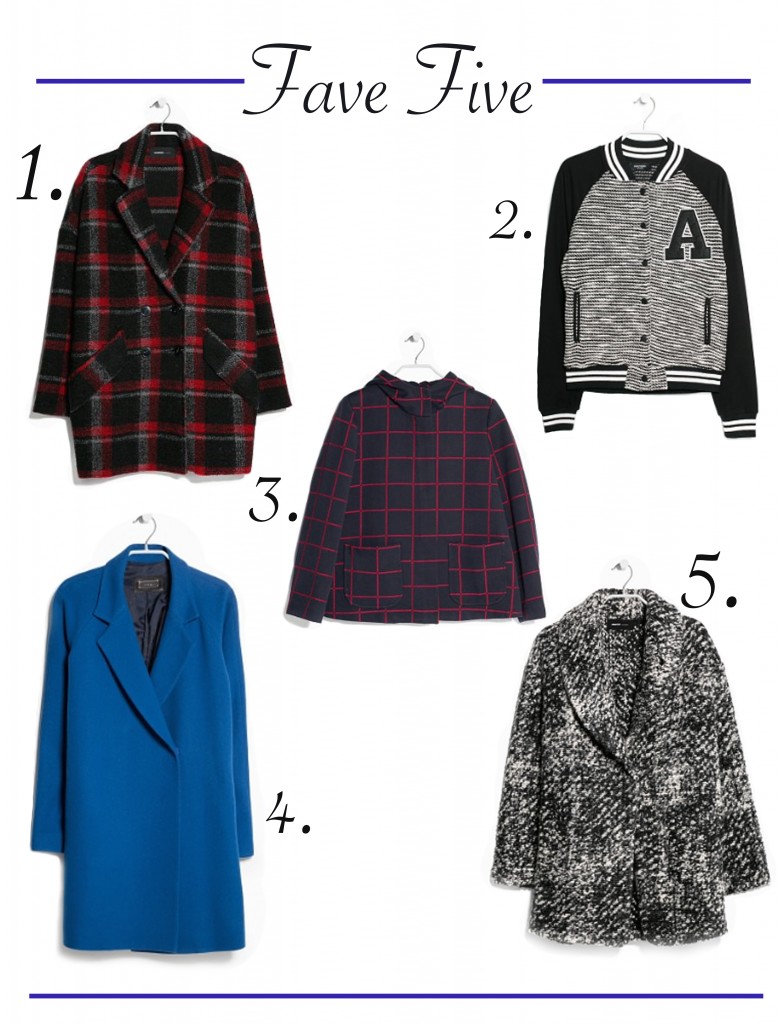 Last Post was all about Fall Coat/ Jacket trends. Now here are some of my favorite picks that are super affordable for this season. Now anyone that knows me well knows I love well made clothing ;). Naturally that means expensive..hehe. I’ve always had a love for quality even when I was in high school just ask my mom. I drove her nuts with wanting name brand clothing ..hehe. Since going to fashion school I’m afraid I love good quality clothes even more and appreciate them having had to make them in school. The problem now is I know what too look for and won’t just pay a high price unless I know it’s amazing quality.
I alway recommend spending a little more on something that is good quality because it will end up lasting you years! So, in the end it is worth it I feel to spend a little more. Although I do understand that this isn’t always possible. Hello single mom here to an almost thirteen year old! Because I’m a single mom who loves quality I also love affordable things too. My son at the moment is going through a major growth spurt and will pass me up shortly (sad tears). So, I love affordable options for myself since I’m having to buy him a lot of clothes lately not to mention him always being hungry (oh the joys of boys. 🙂 )
That is why I wanted to share with you these fave fives that are totally affordable ranging from $ 60- $160.00. I hope you enjoy my picks and I hope I have helped my fashion friends out there that are on a budget. Even if your not on a budget I know you will like these picks and plus they will be great for your wallet. Thanks so much for stopping by!
XX
Fall is knocking at my back door. I can already feel it trying to break down the door ;). Even though at times here in California it doesn’t feel like it’s even close to fall with this heat wave…haha.
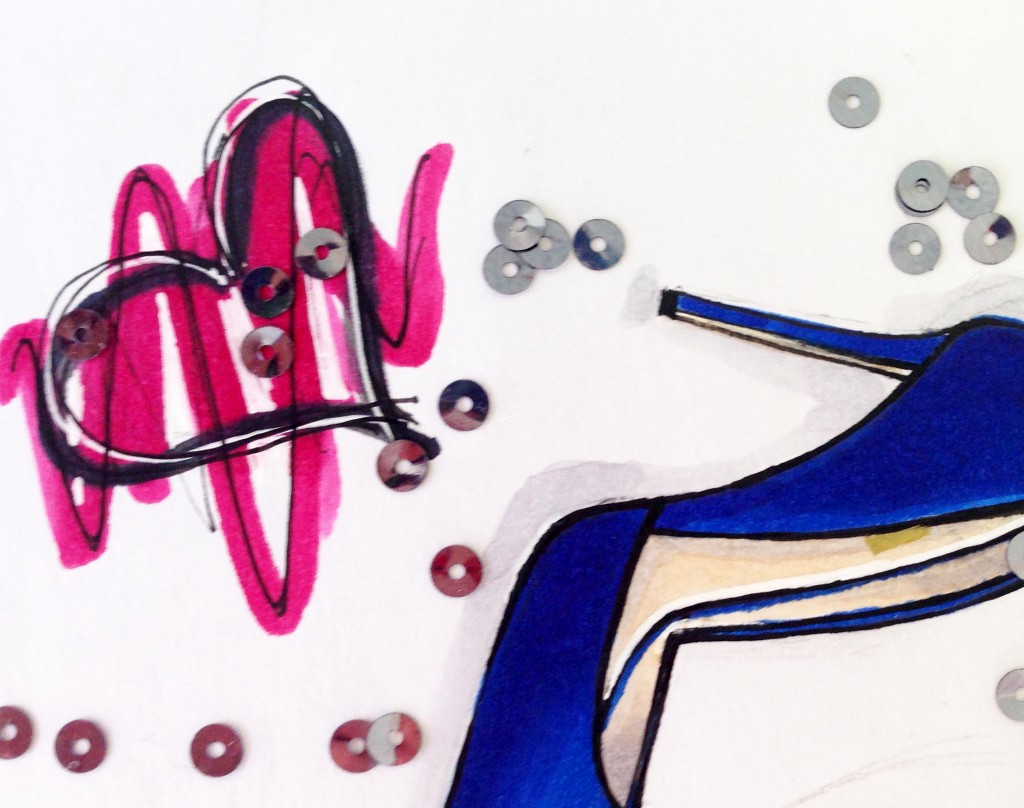
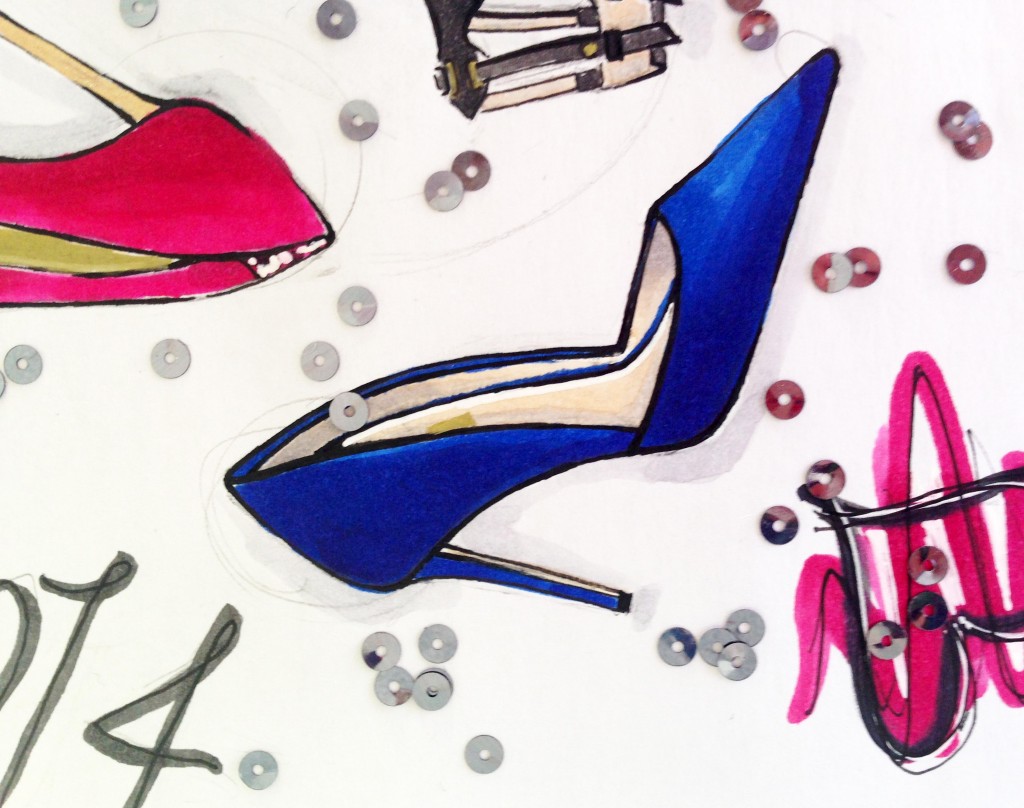
With that being said here are some of my favorite fall pump picks. Don’t worry there will be a flats, boots, and probably a booties edition soon ;). This time I decided to switch things up a little bit and do this little shoe illustration. I hope you enjoy and thanks so much for stopping by talk soon! Have a wonderful Labor Day weekend and have fun with all the sales happening!
Happy Monday I hope everyone had a wonderful weekend!
Today I wanted to talk about eye make-up and the Cat-eye look. Now if you know me, you probably already know I love the Cat-Eye look SHOCKING I KNOW. It is like my everyday look..hahaha. I really do love a good cat eye what can I say ? 😉 Depending on how thick and how long the tails of the cat-eyes are. You can easily go from chic to edgy is no time. They are perfect for casual settings or fancy dressed up parties or weddings. I myself tend to get a little bold and usually have a heavier cat (might be why I go through so many eye pencils and liquid eye liner so fast). It’s also because I’m so pale I feel like it really pops my eyes. I’m just a girl that can’t tan nor do I like too.
So, I went ahead and drew up a how to on how to get the perfect cat-eye! Follow these simple steps below and you won’t go wrong! perhaps you’ve been already been doing this look for sometime. Still look at the how to because I found it was a easier way than how I had been doing it.
I also included eyeliners and eye pencils that are my absolute favorites. Oh yes and a few different cat-eye looks that you should experiment with. Remember it takes practice so, if you make a mistake try again you will eventually get it. Oh yes and have fun! Thanks so much for stopping by my blog all the time and reading my posts!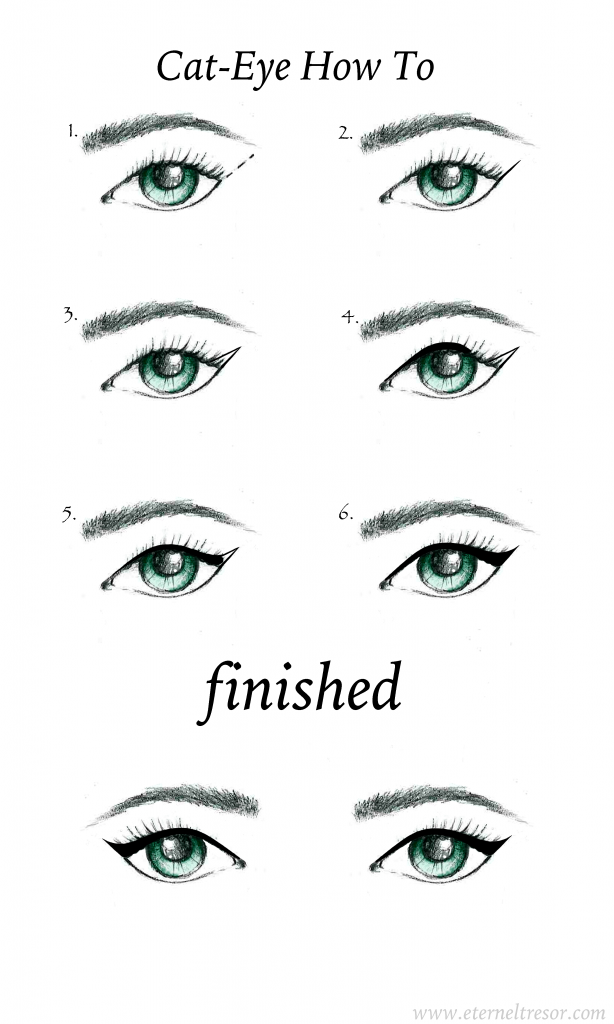 1.| Starting your flick line should only be an extension of the lower lash and eye opening. Just imagine the bottom of your eye continuing and this is where that line should go. Some people use tape as a guide (only when first starting). 2.| Draw your line going from the bottom up. This will give a nice clean end tip of your cat-eye flick (that is important) 3.|After your line is drawn create a triangle. So from your first line start at the top and draw the next line going down to create a triangle like I mentioned. 4.| Starting in the middle and working forward in small strokes draw your line right next to your lash line. 5.| Now connect the line from the middle of your eye to the triangle. 6. Fill in the triangle are and and make make the line on your lash line as thick as you want. For beginners I suggest starting with a light easy cat don’t go bold as your still trying to get your technique down (but do have fun). Last and final step line your upper water line with a eyeliner pencil and add mascara to your lashes and your done!
